Solved

Changing row colours in a nested auto-layout table


Plandomize

Hello!

I’m following this tutorial (Easy Figma Auto Layout Tables Tutorial - YouTube) to make auto-layout tables within figma.

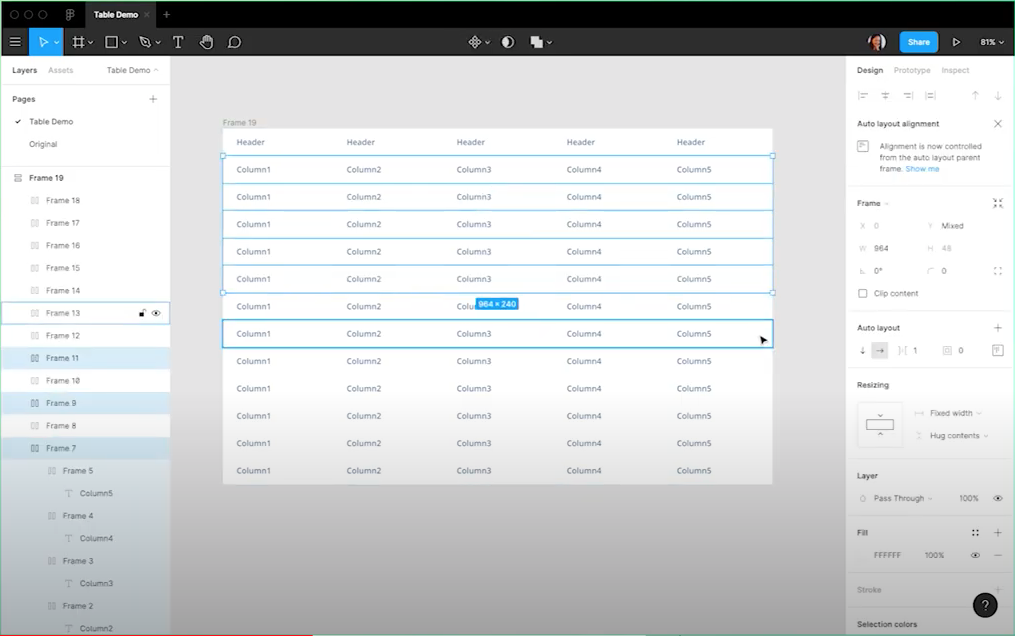
In the video, the lady has made an auto layout of one cell, duplicated it to create a row and then used this row to create columns. She then highlights the whole table and creates another auto layout of the whole thing.

When she changed the colour of certain cells within the table, she highlighted a row and simply changed the colour.

I cannot do that and I have to go into each individual auto layout original cell to change it.

I’m clearly doing something wrong as hers was so quick and simple!

Any help much appreciated!

Best answer by Sous

According to her video, she selected multiple rows at once change to colour.

In order to do this and not have to go into each individual row, you must hold command while selecting rows on the left side panel. I hope this helps!

View original
This topic has been closed for replies.

3 replies

Sous
  • 6 replies
  • Answer
  • July 12, 2021

According to her video, she selected multiple rows at once change to colour.

In order to do this and not have to go into each individual row, you must hold command while selecting rows on the left side panel. I hope this helps!


Plandomize
  • Author
  • 4 replies
  • July 15, 2021

Thanks! Yes, it works 🙂


  • 0 replies
  • August 14, 2021

This topic was automatically closed 30 days after the last reply. New replies are no longer allowed.


Cookie policy

We use cookies to enhance and personalize your experience. If you accept you agree to our full cookie policy. Learn more about our cookies.

 
Cookie settings