Making a component responsive

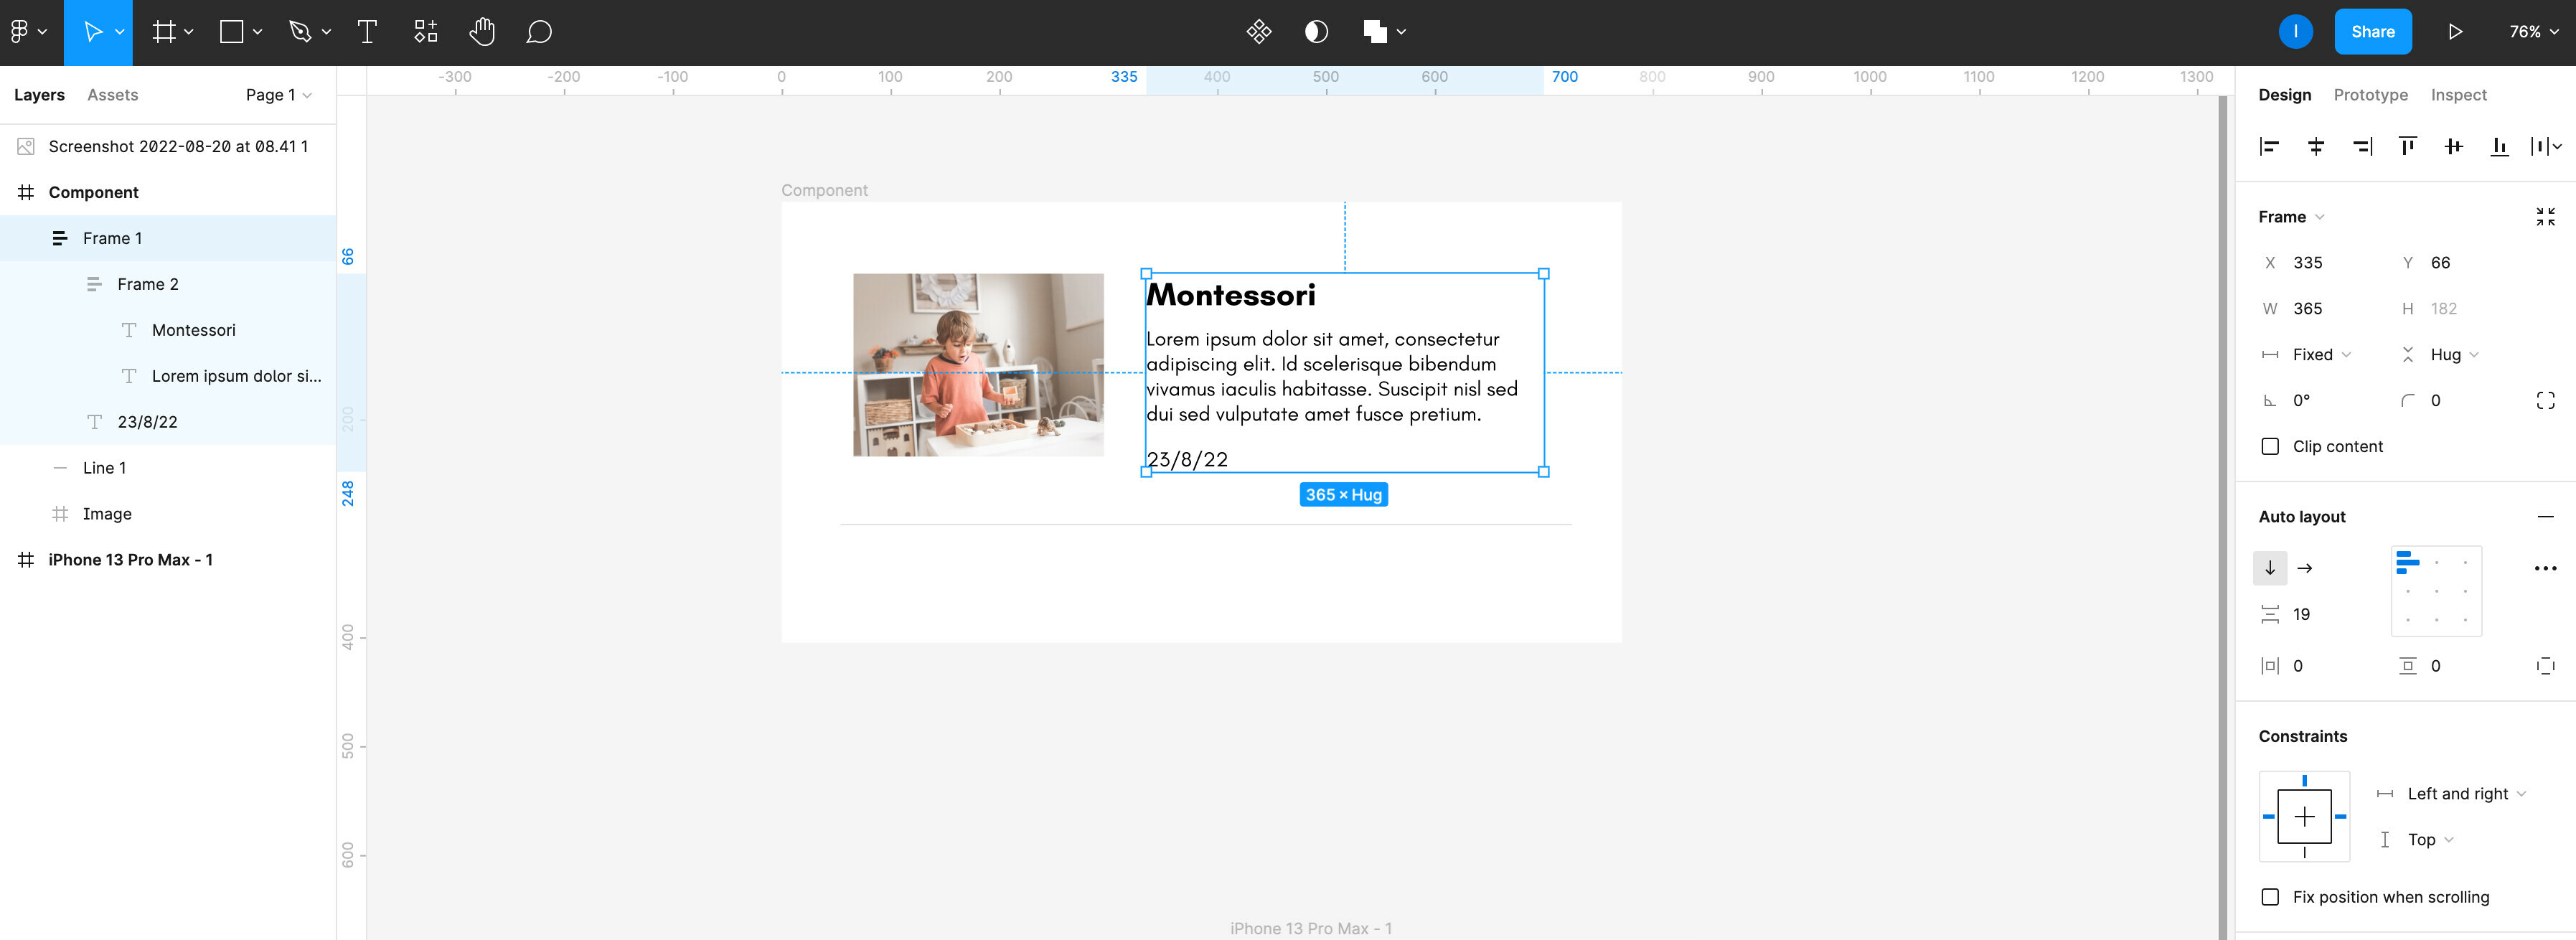
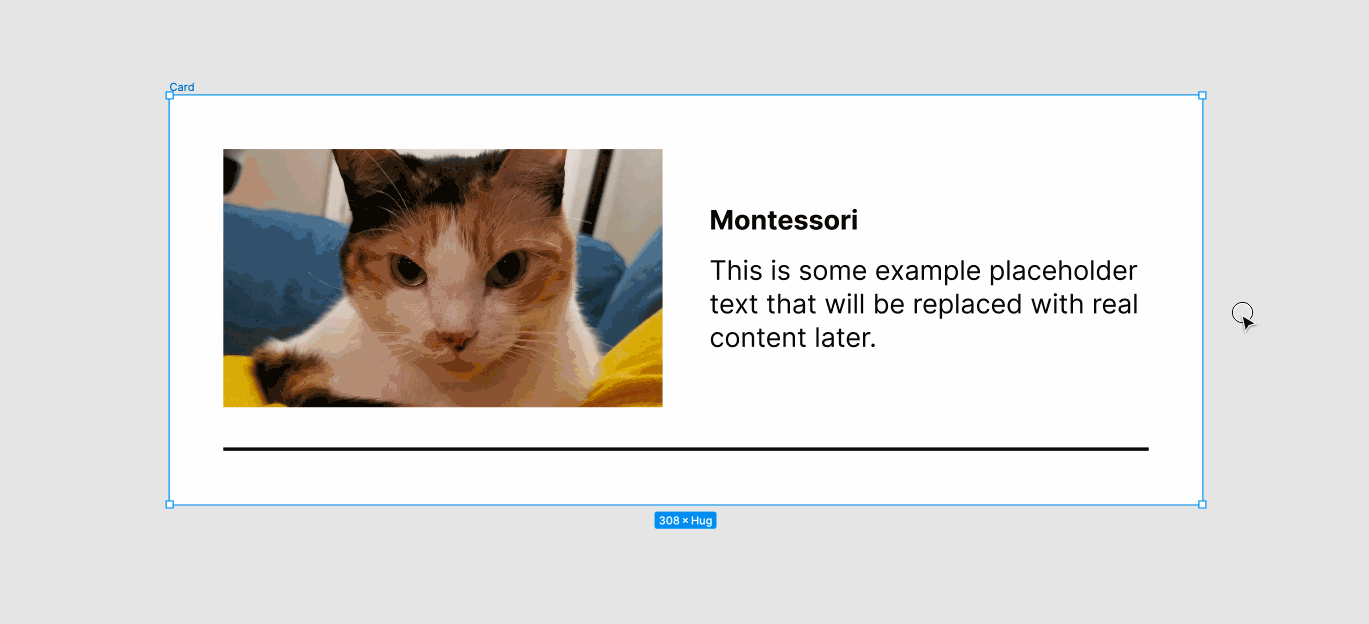
Hi guys, total newbie here and trying to do my first component responsive I can’t make it to work!

I am trying to do the image and text responsive so when I make the main frame smaller, all the items go smaller too. I think I am struggling to understand how to use properly constrains, frames and auto layouts… Probably very obvious but my lack of understanding is not taking me very far XD

Any help would be appreciate it!
Thanks

2 Likes

Hey Ingrid! Welcome to the forum. You’ve come to a good place to get help :muscle:t2:

One quirk to be aware of (which is not very obvious, so do not feel bad for not knowing) is that auto layout and constraints do not mix, so it’s important to choose one over the other when building a component. In my experience, choosing auto layout is usually the correct choice most of the time. Only when I’m working with absolute positioning do I use constraints. Based on your screenshot of the component you’re working on, auto layout looks like the way to go!

Next I’d recommend making sure you’ve got a confident understanding how auto layout works. Figma has awesome, and short, educational videos like this one that could be good to review. My quick explanation would be “making a regular frame into an auto layout frame is like creating a stronger relationship between the frame and the things inside of it. They’re aware of each other, and respect each other’s settings.” A button component using auto layout is a frame that is respecting the width of the text layer inside of it, growing and shrinking depending on how much space the text takes up.

So for your component it looks like you’ve got a frame that has 3 things in it:

  • An image
  • A heading (“Montessori”)
  • A paragraph (“Lorem ipsum…”)
  • A line

I’d suggest removing the containing frames that surround those objects and place them on the canvas to re-build your component from scratch following these steps:

Before diving in, it’s important to know that auto layout frames can only run in one direction: horizontal, or vertical. A tip I’d recommend is always starting at the inner most part of your component and build outward.

Step 1) You have two text layers: one that looks like a heading that says “Montessori” and another that looks like a paragraph with lorem ipsum placeholder text. Select both of these text layers and use the keyboard shortcut CMD+A (or CTRL+A if you’re on a windows machine). This shortcut does two things: wrap the layers you had selected in a frame, and apply auto layout to that frame. Figma will pick up on their arrangement on the canvas and automatically set the auto layout direction to vertical. Name this frame “Text content”

Step 2) Your image and Text content are sitting next to each other, so I would wrap those in another auto layout frame set to “horizontal.” Again, selecting “Text content” and your image, and using CMD+A. You could name that frame “Card content.”

Step 3) Now your “Card content” frame is sitting above the line. Select the “Card content” frame and the line and use CMD+A again. I would call this frame “Card.”

Step 4) You’ll want to add white fill to “Card” and add padding to achieve a similar look to your screenshot.

Step 5) You would also want to revisit the resizing rules of those elements. I would recommend these settings (in this order):

  • Line: “fill” horizontally, and “fixed” vertically
  • Image: “fill” horizontally, and either “hug” or “fixed” vertically (play with these to see what is best for your design).
  • Text layers: “fill” horizontally, and “hug” vertically
  • Text content frame: “fill” horizontally, and “hug” vertically
  • Content frame: “fill” horizont
  • Card frame: “fixed” horizontally”, and “fixed” vertically, aligned center-center

Your layers panel should look something like this:

Screen Shot 2022-08-20 at 10.39.39 AM

And when you resize your card, it should behave like this:

responsive card

Here’s view-access to the Figma file I used to take these screenshots and GIFs, in case you’d like to have a closer look at the layers and auto layout settings.

2 Likes

Hi Alice,

First of, THANK YOU. I absolutely love how helpful this community has been so far, specially with answers like yours. I’m not sure if you are also a mentor apart from a designer but you have explained this in such a great way and so much in detail that I’m super motivated! You’re awesome :slightly_smiling_face:

Thanks again. Have a great day!
Ingrid

1 Like

Very kind of you to say :smile: I would say I dabble in mentoring. My day job doing design operations often has a teaching component to it when it comes to making sure our team knows how to use tools like Figma. It’s a great tool, and it feels good to help others make the most of it! Glad to hear you’re feeling motivated :muscle:t2: Keep at it!

1 Like