Well, I have some bad news… There is no easy way to do this in Figma (not impossible, but almost not worth spending this much time on).
Vector has no use in this case (Figma’s smart animation only recognizes elements such as a whole vector, a frame, a group, or a shape as an atom element. So, if you manipulate what is inside of a vector, you’ll get a dissolve instead of a smart transition).
I suggest switching to Canva or After-Effect for this one.
But if you insist to work with Figma in this case, there is one hard way:
Step 1: Create your template
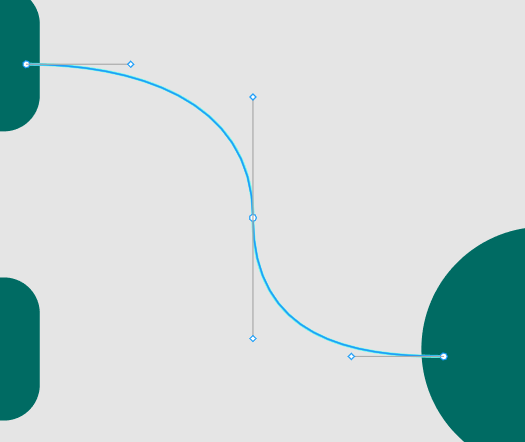
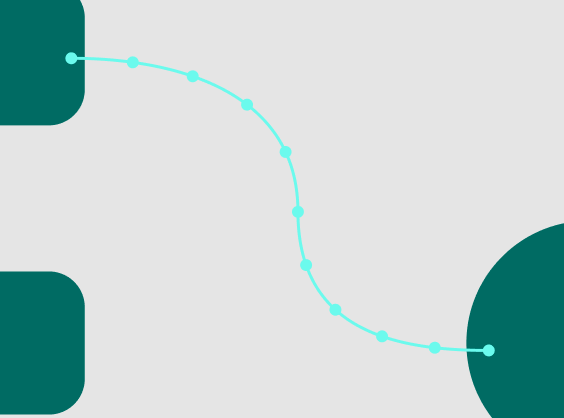
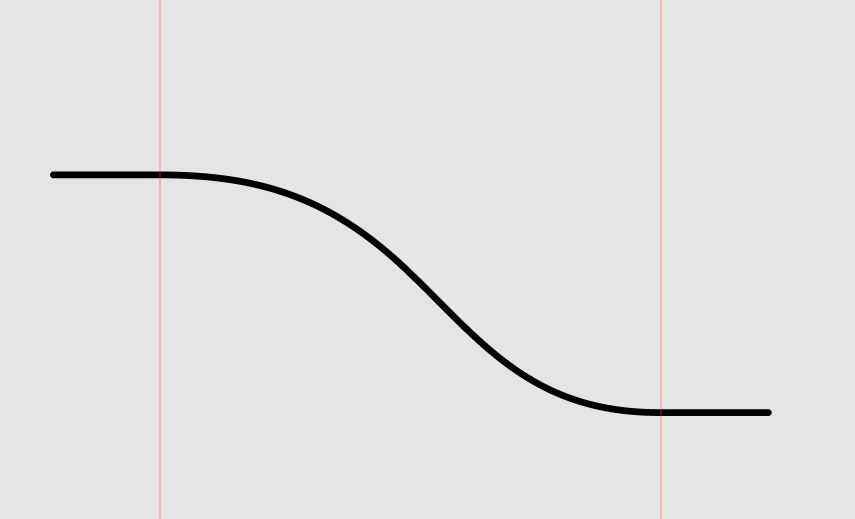
draw a vector you want and rename it to “path” (make sure it’s finalized). let’s assume your circles have something like 20px of space between, give a horizontal head and tail with the length of 20px to your vector like the image below (I’ll explain later why we need these heads and tails)
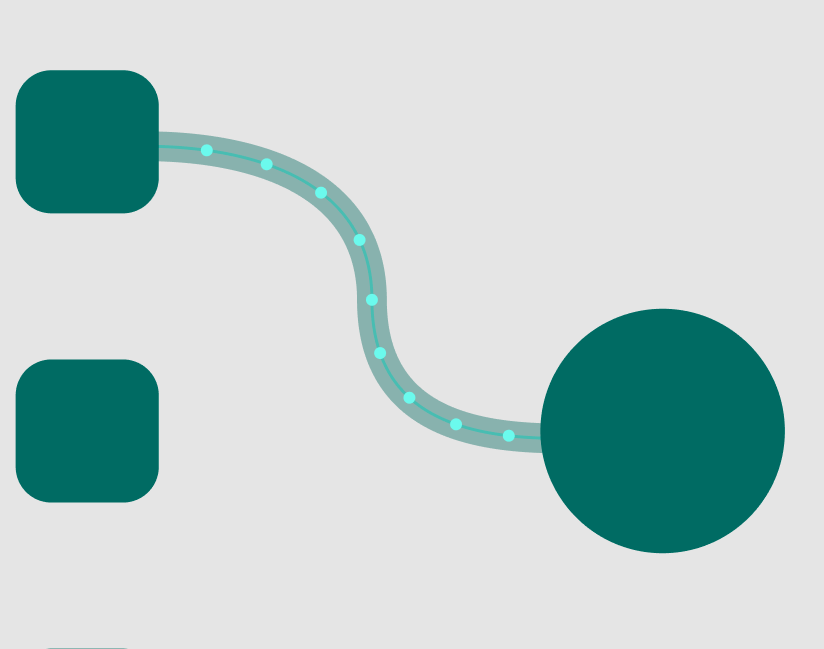
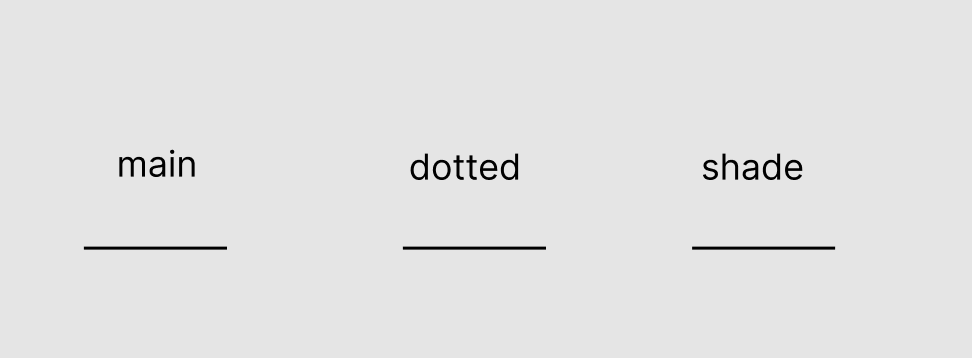
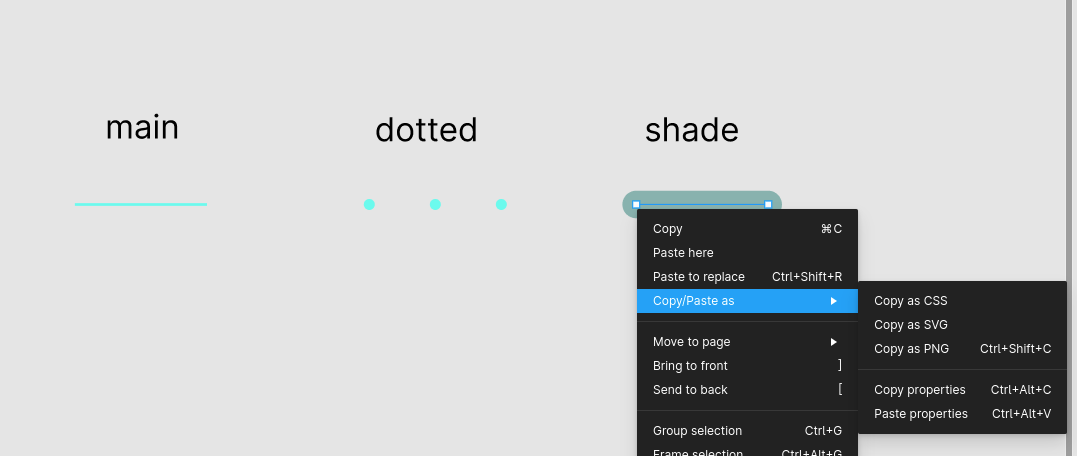
You can copy and paste the vector and rename it to “shade” just like I explained before.
Step 2: Add circles
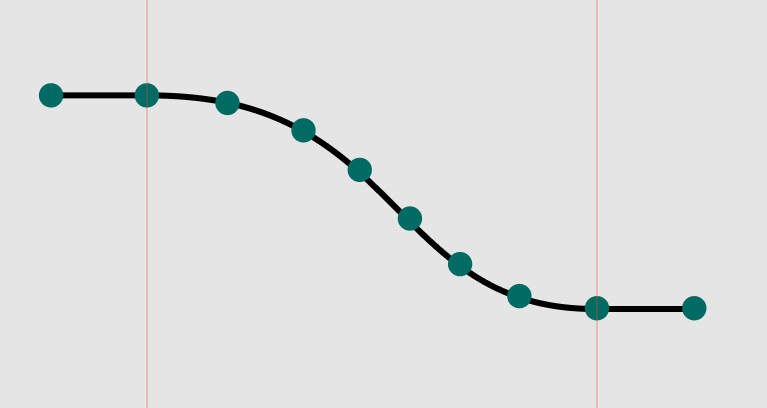
make a circle with the color and size you like, and rename it to “circle 1” Put it at the beginning of the first vector (the left end-point, on the head), Then copy it and decorate these new circles on the vector as you like (make sure both head and tail to have exactly two circles, on in the beginning, and on at the end) like the picture below:
Caution: for better animation, make sure the segment of vector that is between two adjacent circles seems almost like a straight line or it might create a bad visual
Caution: while you are copying and pasting circles, make sure to place them in the order you want to put them on the vector, for example, your fifth copy should be in the fifth place from left to right, this will help us later"
Step 3: create the next state
now that we have everything settled, select all objects and press “Ctrl + Alt + G” to frame them all. rename this frame to “Curve animation”.
Then, select “Curve animation” and press “Ctrl + alt + k” to create a component out of it… the container now should turn purple.
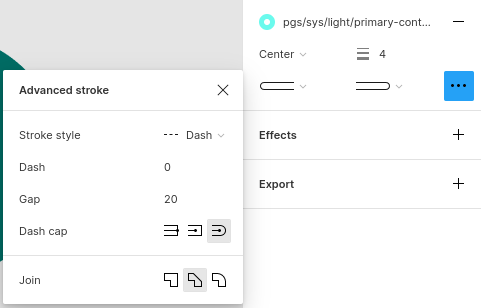
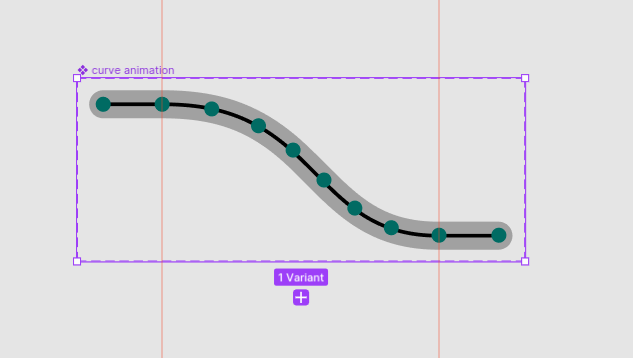
now from the panel on the right, find the Properties section and click on the plus icon, and choose the “variant” option. then double click on “property 1” and rename it to “state”. your component is now wrapped with a dashed stroke. something like this:
now, while the dashed area is selected (not the component inside) do you see the purple plus under the area? click it! you’ll get a copy of the state you just made. From the properties section in the right panel, rename the state value to “state 2”. you can rename the first state to “state 1”. this won’t affect anything except a sense of peace of mind that everything has a proper name
Step 4: Do the magic of smart transition
remember that I said smart animation only triggers by atom elements? there is a simple rule for Figma to detect which item is which:
Elements that are named the same in the hierarchy act as the same objects.
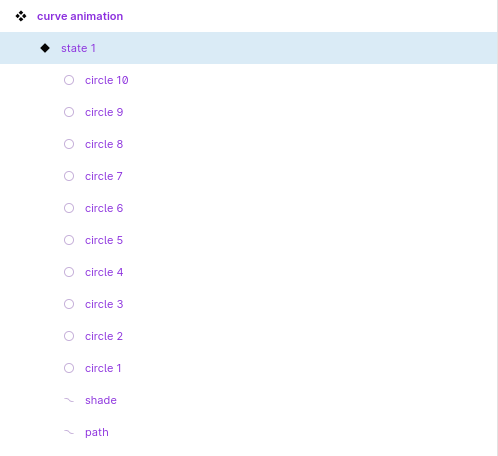
Now let’s look at the hierarchy of the first state that we created:
so as you see, all circles are numbered from 1 to 10, the number 1 is the leftmost one and 10 is the right-most one on the tail.
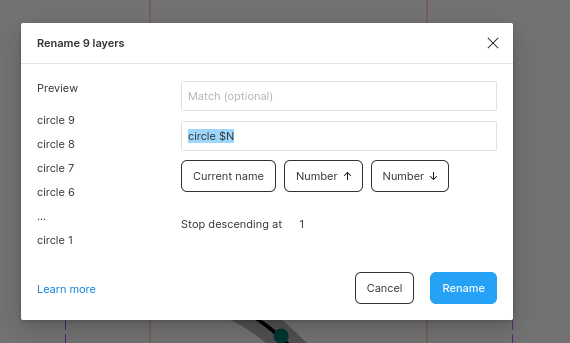
now, select the second state, and then from the layer panel, click on “circle 10” and while holding “Shift” click on “circle 1”. Then press “Ctrl + R” to rename all of them. you’ll see a modal like this:
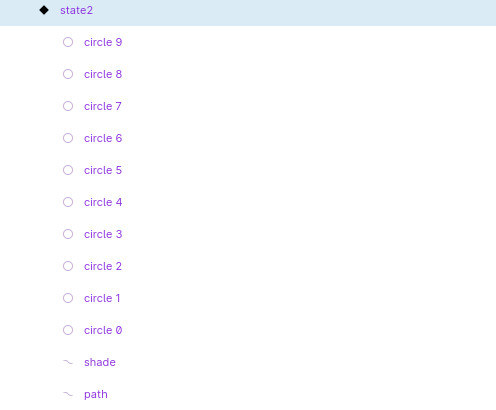
As you see, select the second field and type “circle $N”. the N should be Upper case (lower case gives you the opposite order of numbering) Then, change the “Stop descending at” field to zero “0”.
now your second state on the layer panel on the left should be like this:
Why did we do that? because:
Elements that are named the same in the hierarchy act as the same objects.
Instead of moving all circles to the next position, we shifted their name, and Figma thinks like we actually moved all circles! amazing right?
everything is now done, we need to set up the prototype and do one final change to make it look even better.
Step 5: Setting up the prototype
from the right panel, on the top, select the “prototype” tab. then. select “state 1”
hover your mouse on the bottom of the “state 1” frame area. you should see a blue plus icon. click and drag it, and release it while your mouse is on “state 2”.
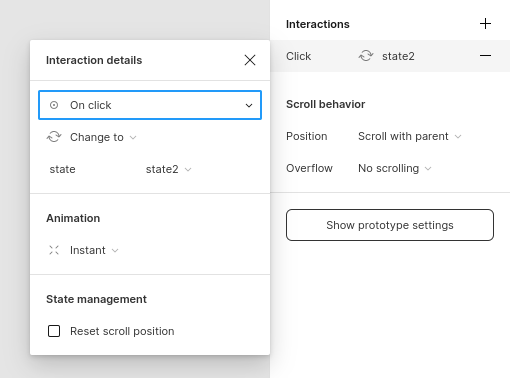
a section will be opened. like this:
do these changes:
- change “on click” to After delay
- set after delay to 1ms
- change animation from “instant” to “smart animate”
- you can have “ease out”
- put the timer to 800ms (there is a timer icon near it)
Now select state 2, drag the blue plus, and make an interaction from the second state to the first state. do these:
- change “on click” to After delay
- set after delay to 1ms
- change animation to “instant” (I’ll explain why)
now, make an instance of your state 1 component in your prototype. and play!
what happened? In the first transition (from state 1 to 2) every circle shifts forward. the “circle 10” has no reference in state 2. so it disappears. and “circle 0” doesn’t exist on state 1, so it appears. the second transition is instant, but since there is no visual difference between these 2 states, we almost see nothing. so we will get the illusion of moving circles while it’s just a loop.
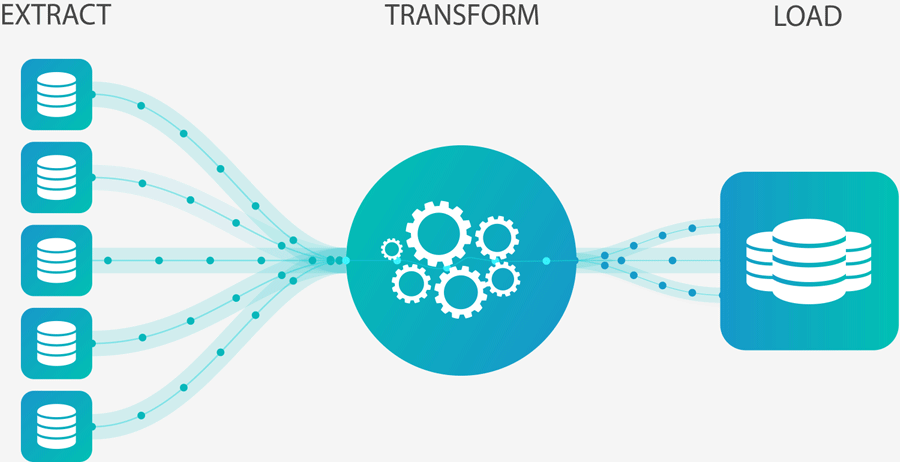
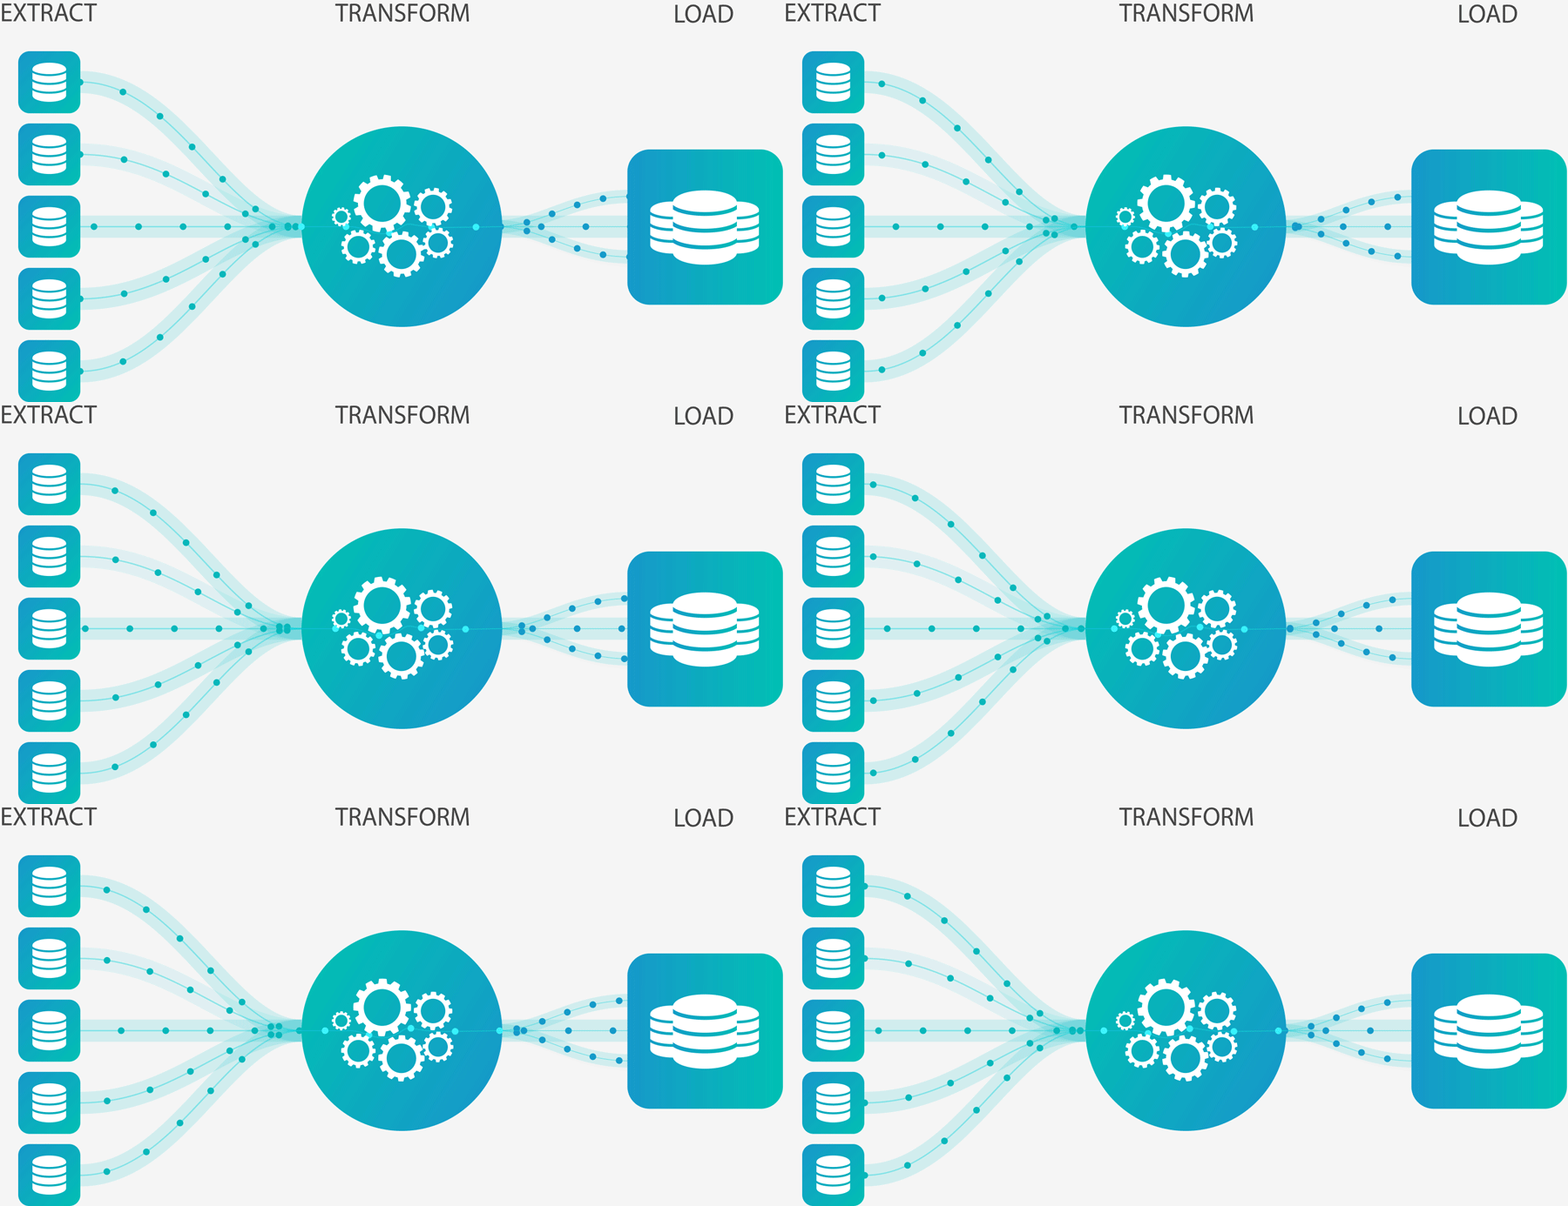
now… your image has 9 curves (5 on the left, one in the transform section, and 3 on the load)
I suggest you design the top curve, and mirror it vertically to make the lower one, so you can make your work faster.
making those gears are easier, you’ll make a 2-variant component, and one is a rotated version of the first state. connect them with prototypes just like the way we did and you’ll get a neat loop)