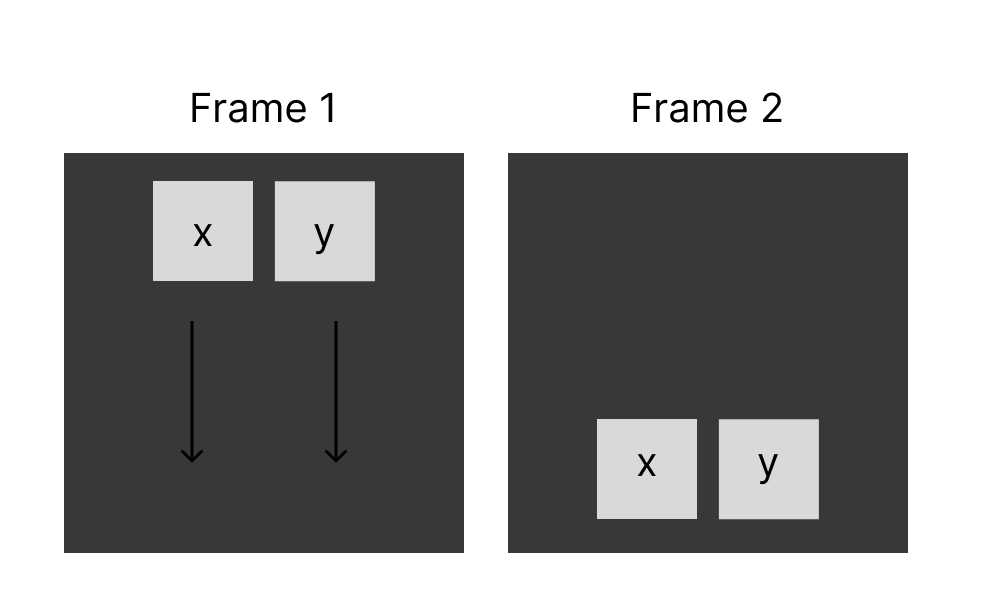
How to move 2 different component in the same frame different speed?

Please search for existing topics before posting! Press :mag: at the upper right to search.

Ooooh, a fun problem! My undergrad degree was in Animation, so this was an interesting topic for me. The trick here is to compose each animation as a separate component before putting an instance of each in the same frame.

I don’t know why, but Figma is VERY particular about the order in which you do these steps, so it’s vital that you do not deviate from the instructions. Otherwise, you will find that the “After Delay” option will be disabled like I did.

  1. Create the asset that you want to animate. It doesn’t need to be a component, but that’s what I chose to do.
  2. Create a new frame with the asset in its starting position.
  3. Convert the frame into a component.
  4. Create a new variant property of the component by selecting the component then clicking on Properties > Variant in the side bar.
  5. In the new variant, move the asset to its finishing position.
  6. With the first variant selected, click on the Prototype tab.
  7. Add a new interaction using the “After Delay” trigger. If you want it to appear to occur instantaneously, set to 1ms. I used 500ms (a half second) for my demo.
  8. The action should be set to “Change to” and you should select Variant2 as the destination.
  9. Make sure the transition type is set to Smart animate. I chose to use “Ease in & out” and 300ms settings for the demo.
  10. Repeat ALL of the above steps for your second asset. For the very last step, I chose to set the animation speed to 600ms so you could clearly see the difference in speed.

Optional step: you can add a similar delay interaction on Variant 2 of each of your components to “reset” or loop your animation. For the demo, I chose to delay the 1st component by 2000ms, and the transition type is set to “Instant” so it looks like it starts over where it began. I set the delay on the 2nd component to 1700ms because the animation is 300ms longer. If you don’t offset the delays, your components will reset at different speeds.

You should now have two separate components with two separate animations. You have two options on how you want the animation to start: automatically or triggered by an interaction. In most cases, I would assume you’d prefer the latter, but I’ll explain how to do both.

Automatic Animation: link

  1. If you don’t already have a destination frame for the animation to play from within, go ahead and create one now.
  2. Drag an instance of Variant1 for both components into the frame you want the animation to play in.
  3. At this point, you should just be able to test the prototype on this frame. Because the delays are baked into the component, they will automatically cycle through the animations you set up.

Manual Animation: link

  1. Perform the first two steps of the Automatic Animation.
  2. At this point, you have to decide what the trigger for your animation will be. For my demo, I have the animation beginning when you click the button. Set up the UI needed to attach an Interaction to.
  3. Before you do any prototyping magic, you’ll need to duplicate the frame with your animations and UI.
  4. After you duplicate the original frame, select each animation component, right-click, and select “Detatch instance”. This will give you a static (non-moving) version of your animation assets in the exact location they start in, basically preventing them from starting before your trigger.
  5. Presuming you went the button route, select the button in the original frame and add a new Interaction. This one will have the trigger for “On Click” … “Navigate to” … Frame2 (whatever you named your duplicate frame) … “Instant”

Now when you test your prototype with the first frame selected, you should see everything standing still, and then when you click on the button, the animation cycle begins. I didn’t remove the looping, so if you want your animation to stop, you’ll need to either remove the looping or add a “Delay” interaction to take you back to Frame1 before the animation cycle can begin again.

Hopefully that all made sense!!

2 Likes