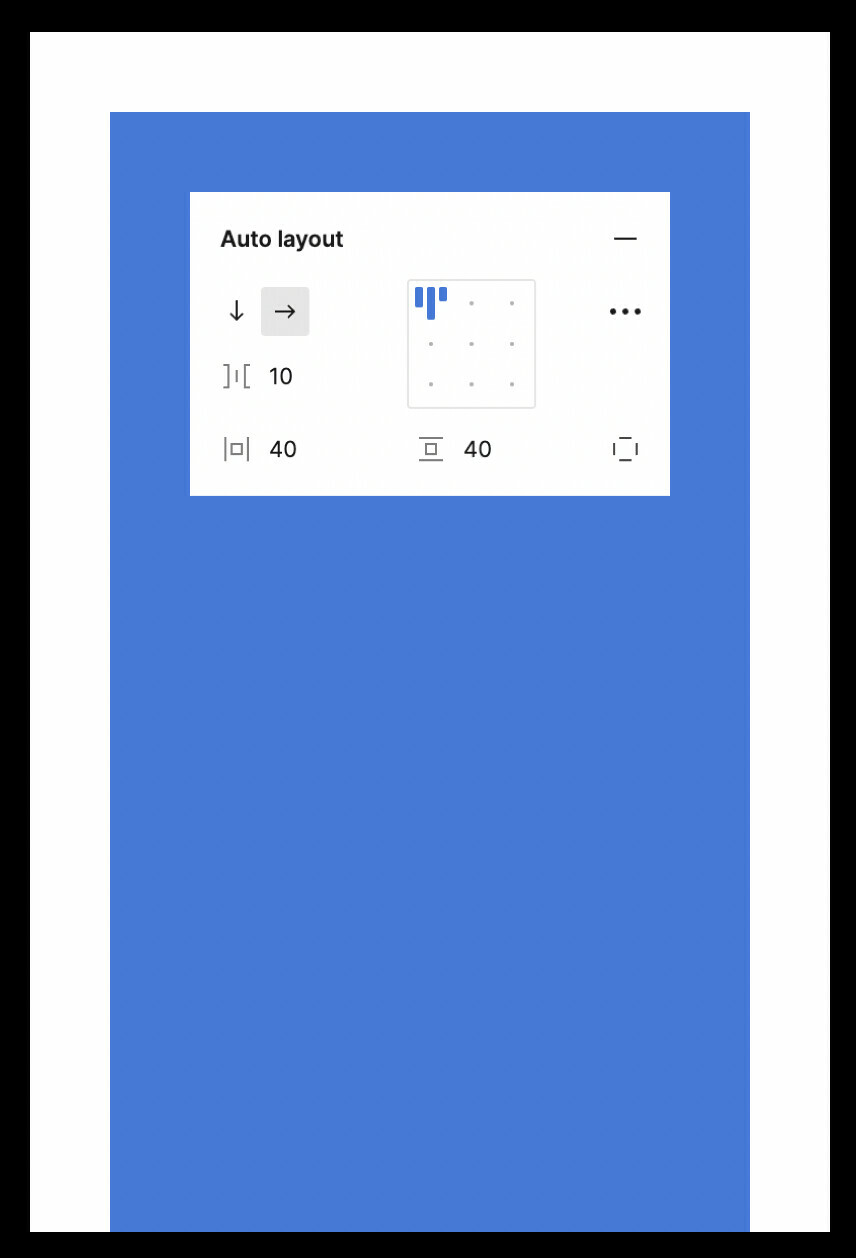
Figma vertical scrolling in prototypes, autolayout won't show padding

When using vertical scrolling, I’m expecting that the auto layout padding will work as limits to the frame inside the scrollable are, currently it’s not working as is. Is this a bug?

6 Likes

Could be.

Can you share a file or give steps to reproduce?

Here’s an example: https://www.figma.com/proto/JBh7l1MJ2J6X8kZpBz9AMu/sample?page-id=0%3A1&node-id=0%3A1&viewport=1205%2C723%2C1&scaling=min-zoom

The white padding around it, comes from the autolayout, as you can see in the screenshot, but when scrolling, the padding-bottom won’t show up.

I can’t see that you’ve posted any screenshot

It’s embedded within the Figma prototype. As you can see, the blue rectangle has 40px all around it, and when scrolling, only top-left-right show, not the bottom padding.

In case my answer doesn’t match reality, can you also share a screenshot of the file, how you set up that scroll?

It seems that for what you shared to be working, you gave the blue rectangle a fixed-height so that it is forced outside of that vertically scrollable container Frame which has auto-layout. In that case, Figma has to ignore the bottom-padding of the container so that your rectangle can flow outside of its boundaries.

Instead, what you can do in case you’re still trying to figure this out, is that you need an extra “safe margin” in your scrollable content: The way I usually do it is with an empty frame, with a fill-container width and a fixed height that equals the amount of space I want to see at the bottom once the scroll has reached the top.

(bonus: you could make a component out of that safe margin Frame and create Height variations so that it’s easy to maintain)

As you can see in the video, while scrolling, you should have the same 40px padding at the bottom.

4 Likes

This topic was automatically closed after 30 days. New replies are no longer allowed.