
Hello Figma brains,
I am an experienced Figma user and I’ve been able to break the rules with Figma to design some pretty cool auto-layout components for ease of use and responsiveness. BUT, this one I don’t think I can break so going to see if anyone else can figure this one out. I might actually be overthinking this and it’s actually a simple process LOL.
Currently, I’ve designed this size button. It’s responsive and works perfectly.
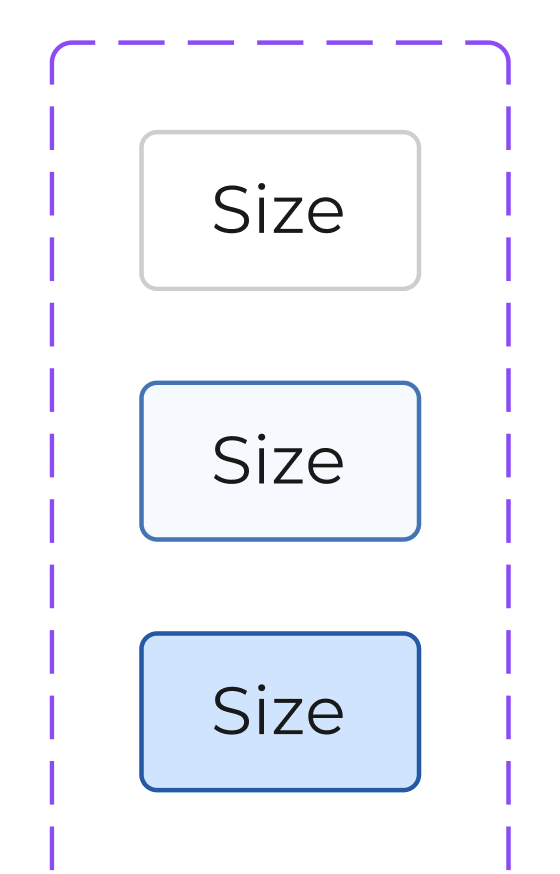
But now I want to add another variant which shows a “disabled/out of stock” state. Usually I would just grey this out to make it look disabled but for this particular component I want to have a strike-through. I want it to still remain in auto-layout and still be as responsive as my other ones. Usually I would do this differently (add the strikethrough as an image but responsiveness isn’t quiet as good haha). The strike-through is behind the text and behind the border in this design.
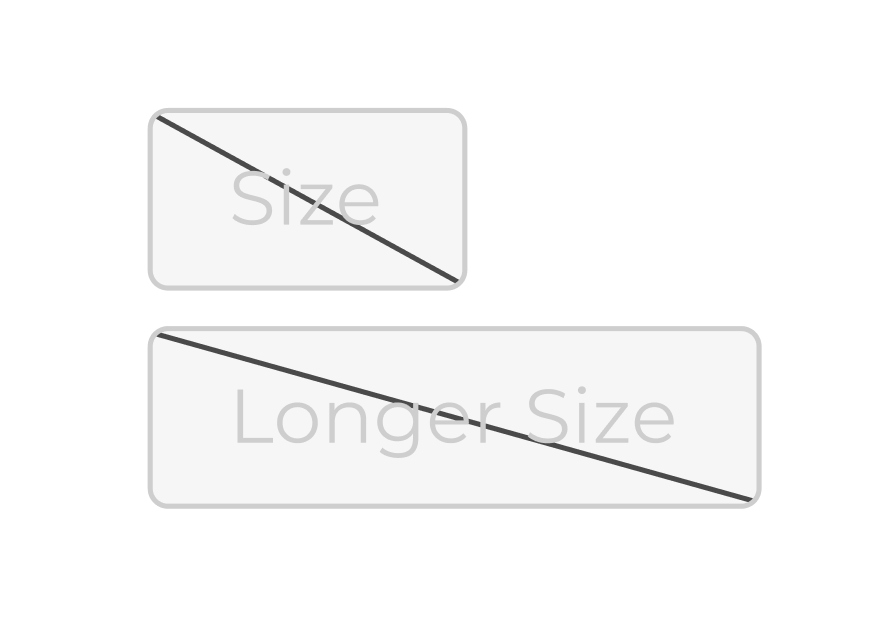
Again, I’m probably overthinking this.
Any help is appreciated!