Hi. I want to create a feature where if user click ‘yes’ button, the card will be automatically be swiped to the right. If user click ‘no’, the card will be moved to the left.
How to animate this?
Secondly, if the user click in the middle, they will go to each individual card’s page. Let say I have 16 of these cards. How do I prototype this efficiently?
This is the screen I want to prototype.
Best answer by Raphael_M
Hello again, Ulfa.
This one is very complex, I am not sure how to automate the entire process but I can give you an idea how to do it.
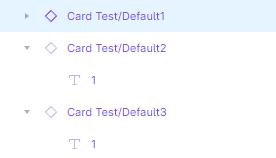
First, you need to create the cards with different names (is a must for smart animate)
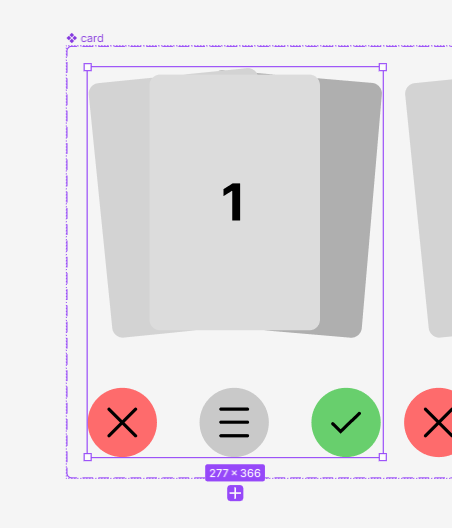
Create a Component that will hold all the button + the cards arranged according to your designs. Make sure it is in clip content.
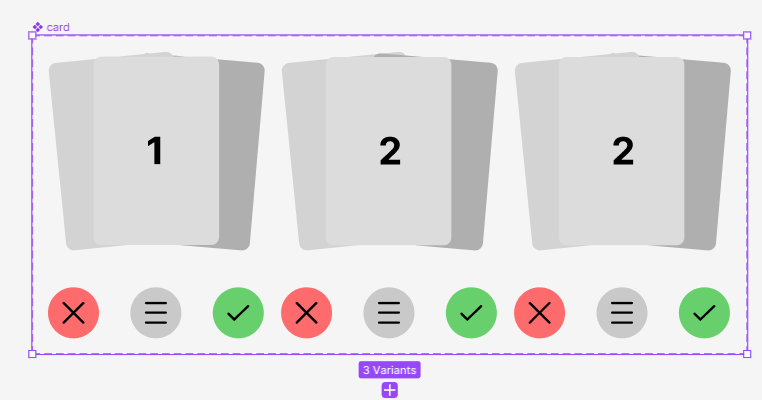
Create multiple variants depending on how many cards you have. For 16 cards that’s going to be 16x2(left and right) + 1 default = 33 variants (not entirely sure it may be more)
Manually adjust the card in front whether it’s on the right or on the left. When you put it on the left make sure you know it is to the left because you will use it later on the prototyping. As you can see, i put the Card 1 outside of the frame to left (for the x button) and then the card 2 is put in the middle, and card 3 is adjusted to the left and added a new card 4 on the right.
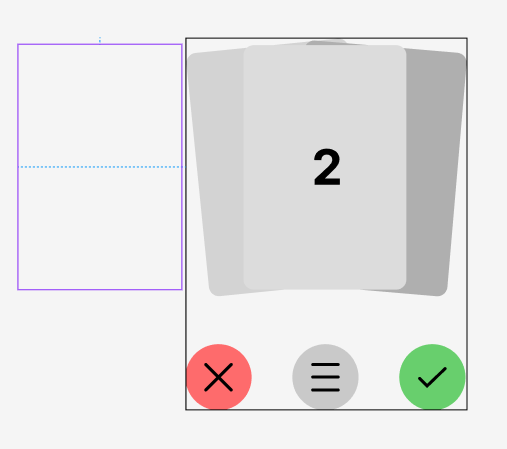
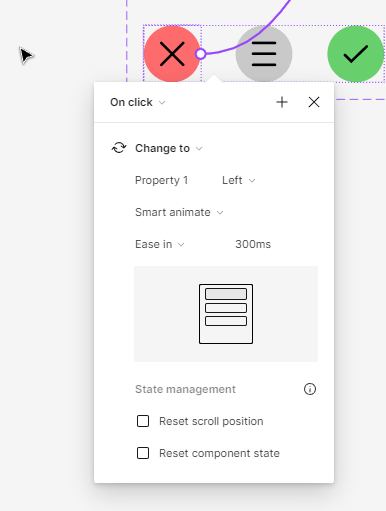
Next is adding click event on the buttons, using the change to property.
This one is very complex, I am not sure how to automate the entire process but I can give you an idea how to do it.
First, you need to create the cards with different names (is a must for smart animate)
Create a Component that will hold all the button + the cards arranged according to your designs. Make sure it is in clip content.
Create multiple variants depending on how many cards you have. For 16 cards that’s going to be 16x2(left and right) + 1 default = 33 variants (not entirely sure it may be more)
Manually adjust the card in front whether it’s on the right or on the left. When you put it on the left make sure you know it is to the left because you will use it later on the prototyping. As you can see, i put the Card 1 outside of the frame to left (for the x button) and then the card 2 is put in the middle, and card 3 is adjusted to the left and added a new card 4 on the right.
Next is adding click event on the buttons, using the change to property.
The left(close) is attached to the 2left variant because the next card is card 2. and then the right(check) is attached to the 2right variant. I usually delete the files I used to demonstrate the solutions I’ve come up. But, I’ll recreate it for you please wait for a few mins. I usually don’t recommend this technique because it uses a lot of files/variants/etc.
But, the technique in Figma is if its hard to animate it properly, use smart animate technique 😃