Hi @Cagdas_Kara, sorry to hear that.
The solution is by simplifying the method, your issue will be solved by creating a “color variable”, no need to create a component. To do this, follow these steps:
Using Color Variable
- Create a frame > add text inside > create Auto Layout.
- Open your “Local Variables” list (you can find it on the right side panel).
- Add a “color variable” > name it “buttonColor” for example.
- Create new mode by clicking on the “+” sign on the top right side of the screen.
- Name the first more “Light Mode” and the second mode “Dark Mode” > change the default colors for each mode as desired (in your example, make it #FFFFFF for the 1st mode, and #FF0000 for the 2nd mode).
- Go to you button, and connect it’s color to the variable color “buttonColor”, you can do this by clicking on the four dots icon in the Fill section, then choose the variable color (the square box).
- Go back to main canvas, create 2 frame, one set it to “Light Mode” and one for the “Dark Mode” (similar to what you make in your video).
- Now you are ready, change the text to whatever you want, and move the button to any of the 2 frames, and it’s done! (see this example, you can duplicate it and see how’s it’s built).
There is more advanced solution if you want specifically to make the button as component, but keeps the text changed when changing the modes. To do this, follow these steps:
Using String Variable and Text Label
Create component just like the one you make in the video, in this case, we won’t use the “color variable”. instead, we will be using “string variable” and “text label”.
Make sure to name each your button component variants to “light” and “dark”. Probably their names will be “Default” and “Variant 2”.
Open your local variable list, and create a “string variable”, call it the same as the button variants names. In the light mode, name it “light”, and in the dark mode, name it “dark”.
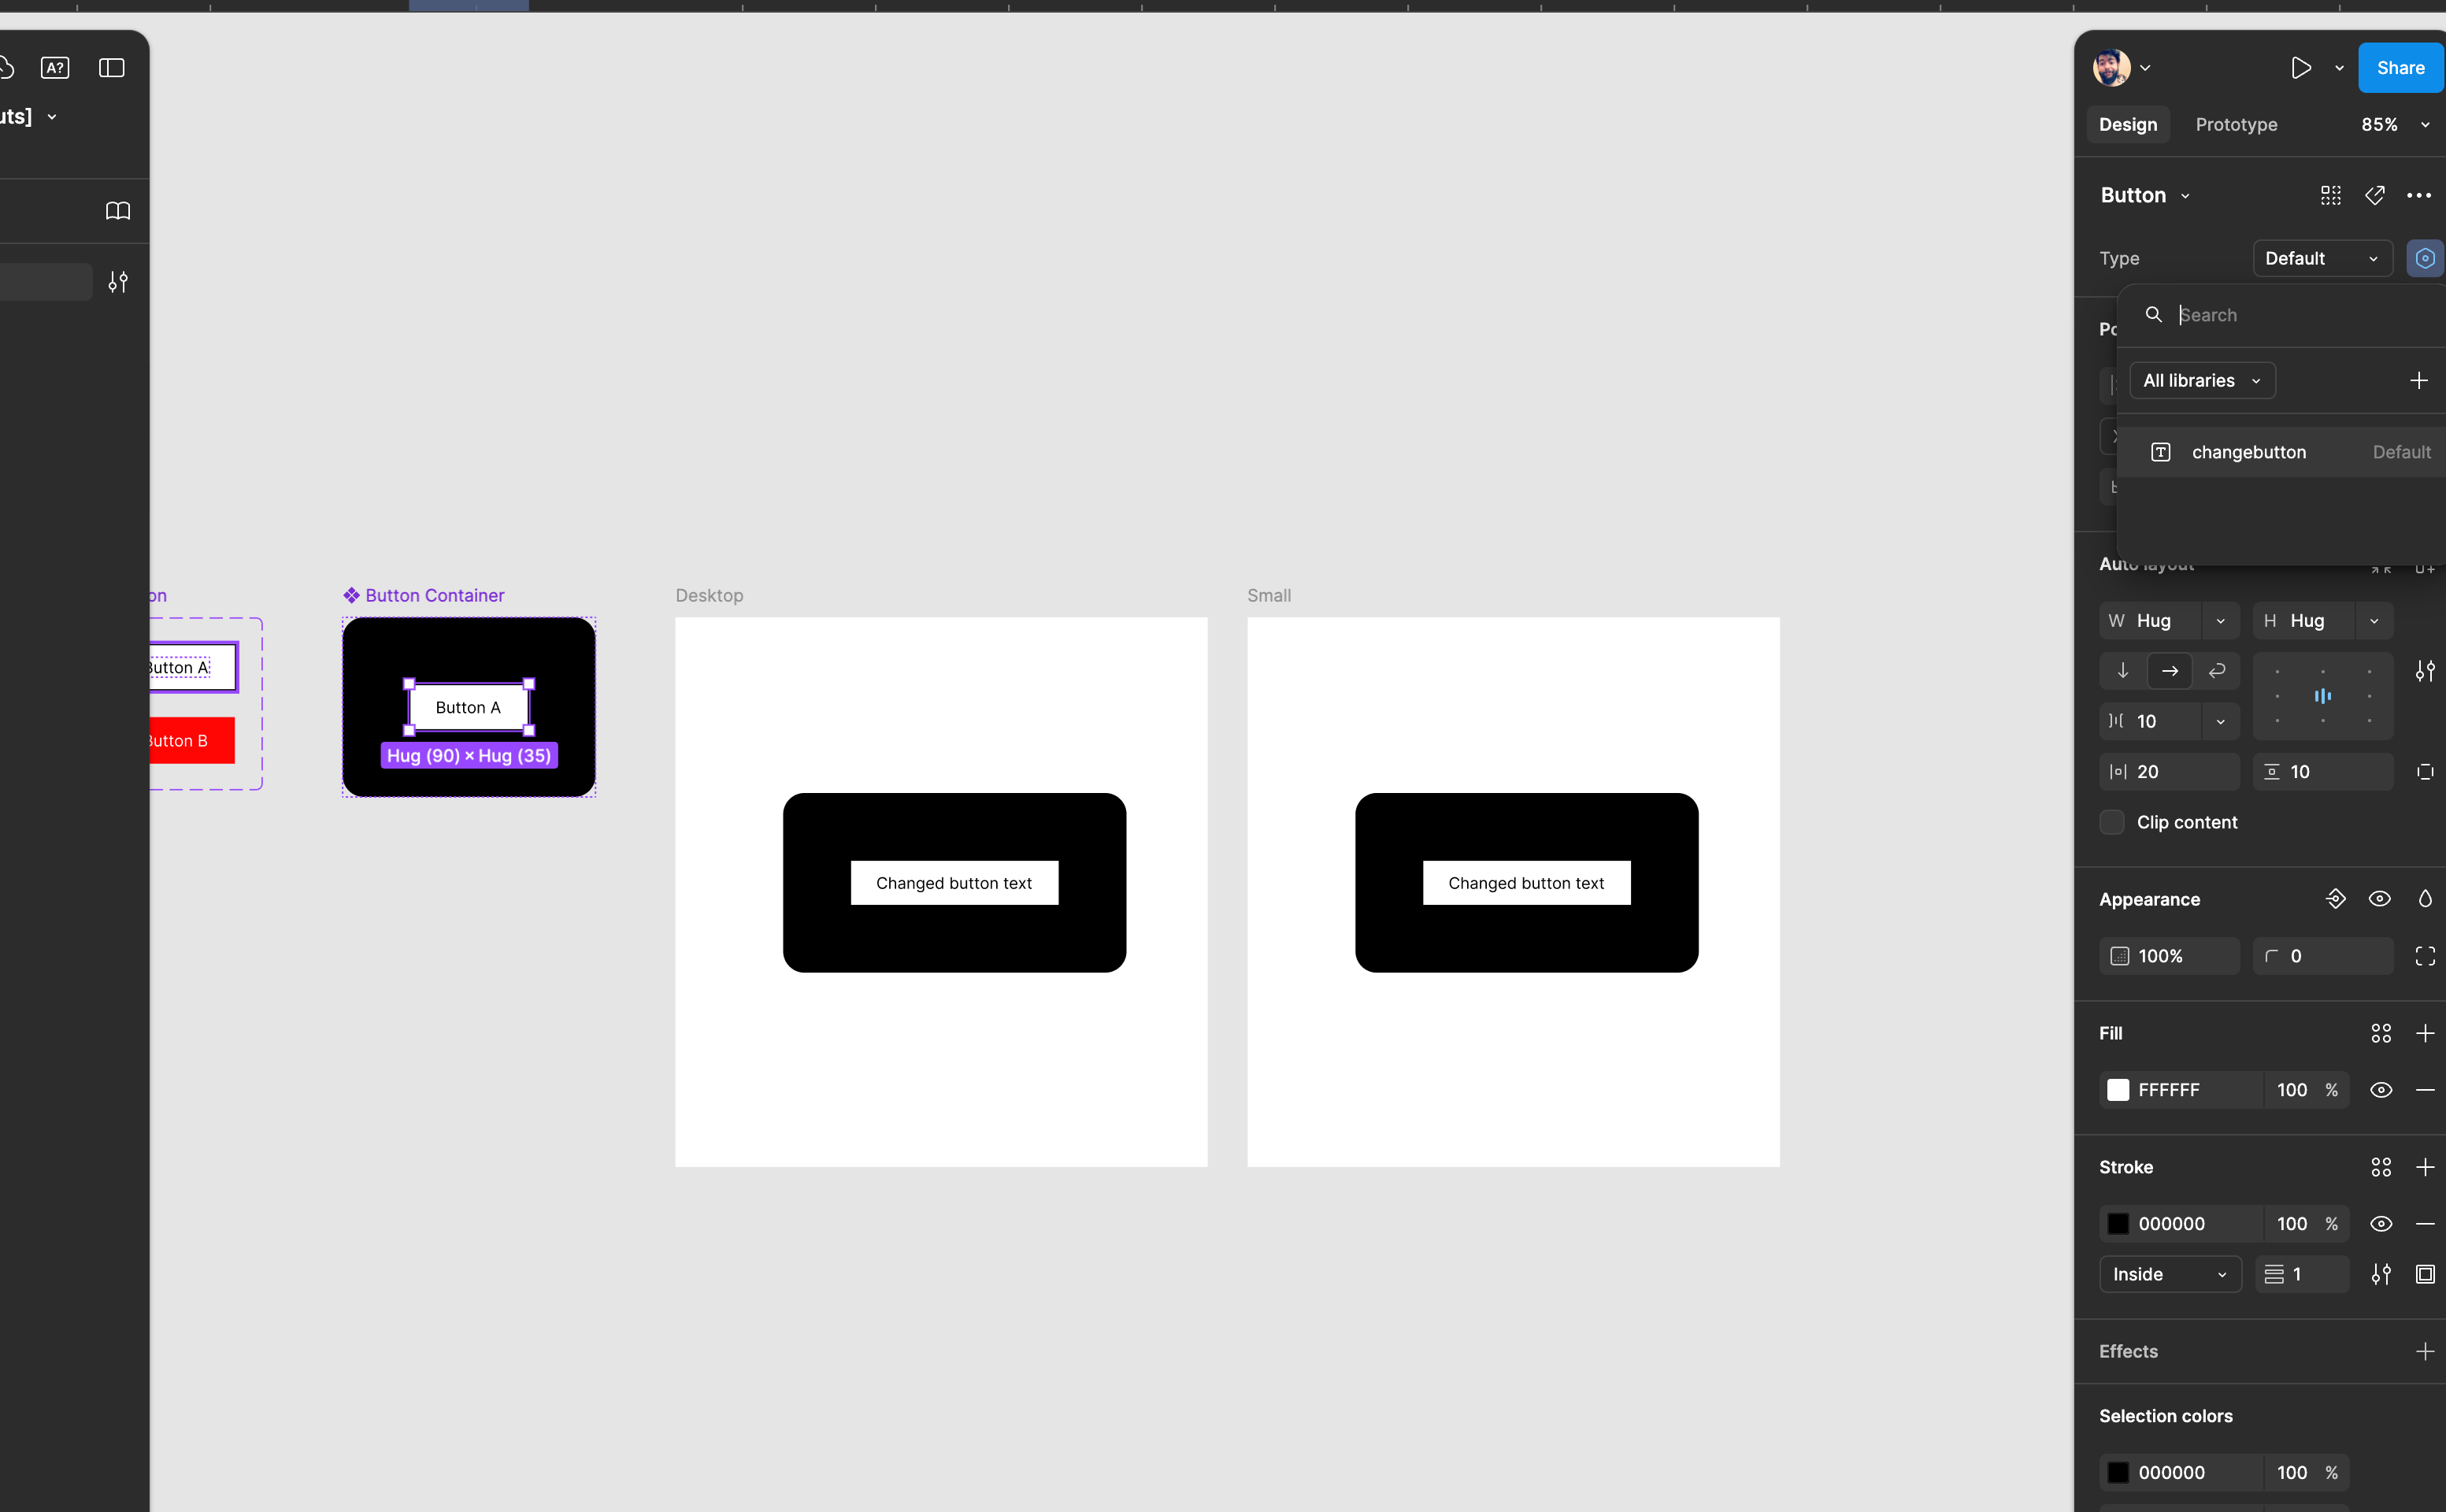
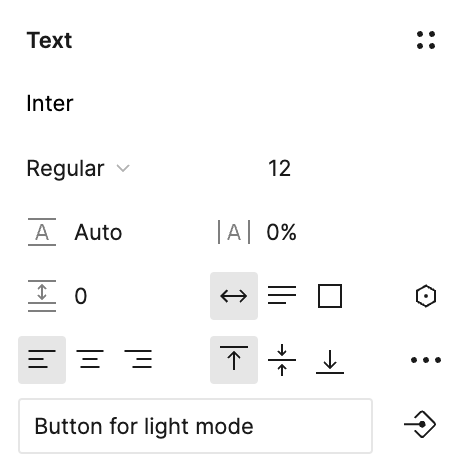
Go to the component, click on the text. You will find an icon next to the text in the “text” section. Click on it and create text label (call it “button text” for example). See screenshot attached.
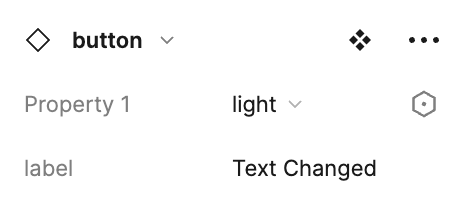
Now, make a copy of the button, and add it to one of the frames. Hover on the button “property” section, and a small hexagon button with dot inside will appear, click it and choose “buttonStatus” variable that we created earlier (see attached image).
Just change the text now, and try to move the button for the 2 frame, and it’s done! (check this example)
What happened here is that we connected the button text with a label, and any text connected to this label will not change unless you changed the label itself.
The “String variable” gives us the flexibility to change the button status (variant) based on the selected mode of the frame.
I hope this helped you, and always remember to simplify the solutions in Figma!
Good luck!
Hey @Eldurini I’m so sorry to tire you out. Thanks! 👊🏼 You are awesome.
But my problem is just different. Please forget the about dark or light color. This my fault.
buttontextproblem.fig (37.4 KB)
I just want to moving text value.
Please check it out below this video.
Figma – 31 Aug 24
Actually, here’s my problem.
01 - I am creating a button with two variants, large and medium. and I want these buttons to have different displays on two different pages. so I am creating a string variable.
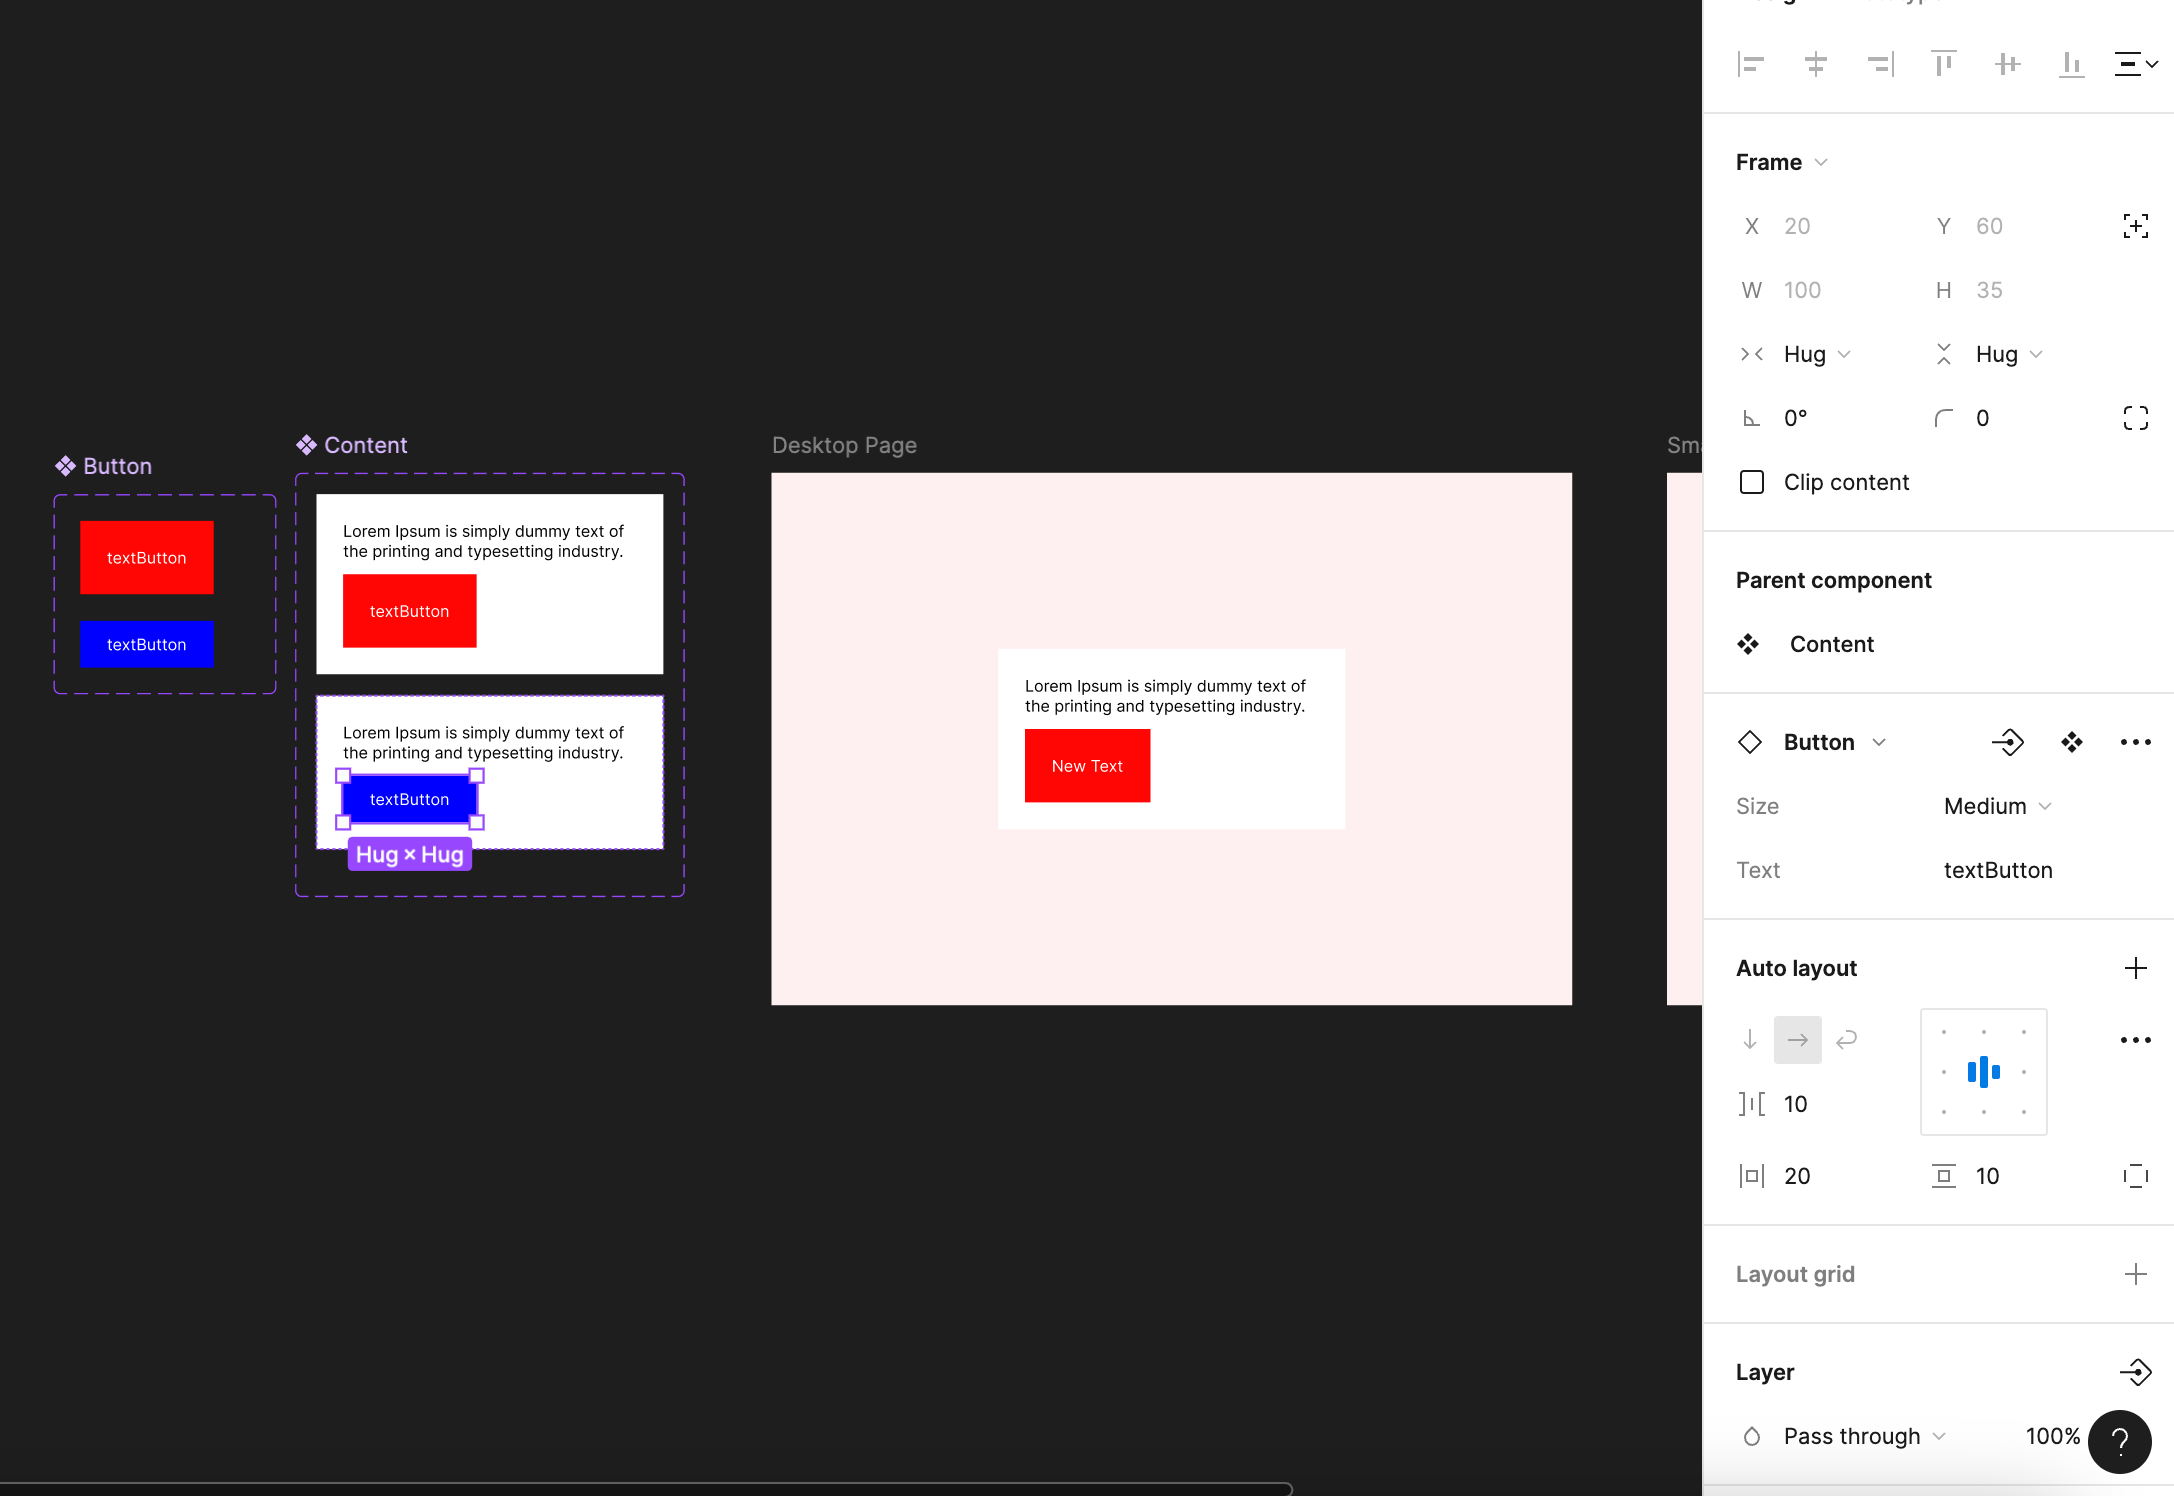
02 - i place my button inside a component. this is my content box.
03 - i assign the variable i created to the size variant of the child component i placed inside the content box. (size variable)
04 - I then pull the content box component into my desktop page and rename the button.
05 - The name of the button is now customized. and when I throw my content box into the mobile screen, I want everything to move accordingly and I want the button to go to medium size.
06 - no problem with this, everything is fine. but the text I changed is not moved. it takes the text in the master variable of the button. how can I move the text I changed on the last screen?
this is my main problem 😔
Hi @Cagdas_Kara
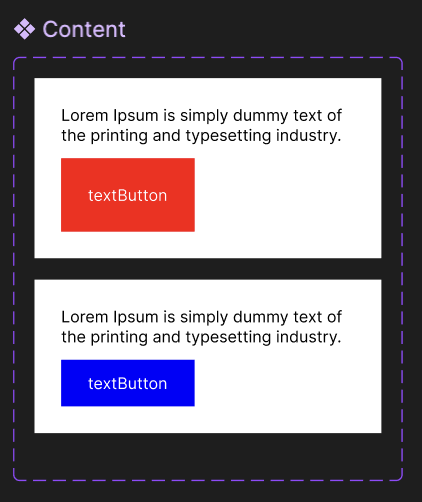
To avoid this, just create a variant for the “Content” component (as displayed in the screenshot below), and detach the “button” inside it from the String Value. Instead, when taking a copy from the Content component, make sure to connect it with the String Value “Size”, that you used to connect it to the button.
In the 2nd variant of the Content component, change the button status to “Medium” (check screenshot below).
Make sure to rename the Content component variants to “Large” and “Medium” as you did earlier to the button.
Now it should work properly, just change the text and move it to the other frame, it should remain the same (check this modified sample file).
@Eldurini
It’s not a very clean solution for me, but it’s good enough. I can reshape my work the way you showed me.
Thank you for explaining it grain by grain and without getting bored. ❤️