Can't get this autolayout to work properly

Please search for existing topics before post! Press :mag: at the upper right to search.

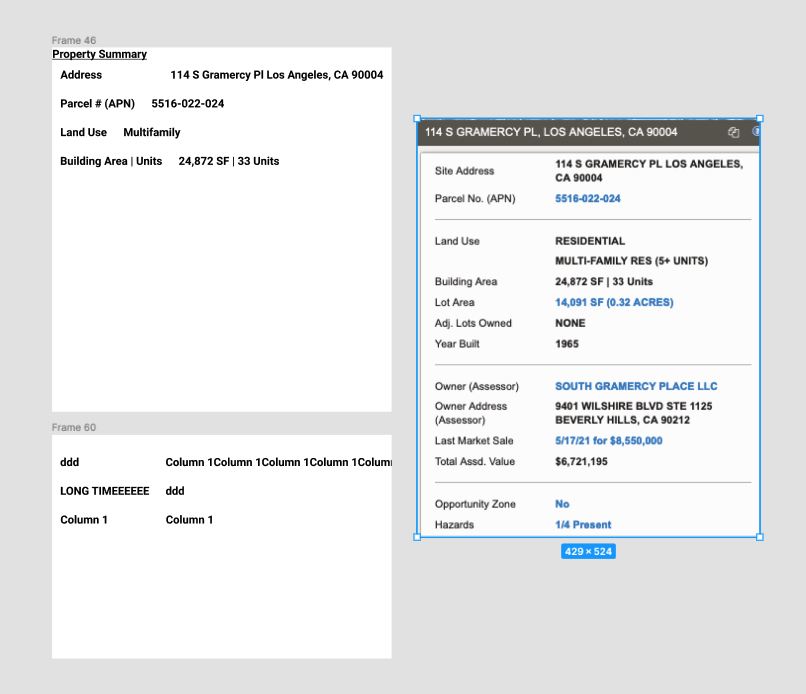
I don’t know why i’m having such a difficult time getting this auto layout to work properly. I’m trying to replicate the screenshot to the right. The first column of items should have a smaller column width and the 2nd column should take up the rest of the container. If resized smaller, the columns should move into the next row and fill in a 2nd row.

Can anyone help?

Hi @AM123. You can view and duplicate the Community files to see how the tables are made:

You can also watch video tutorials:
https://m.youtube.com/results?sp=mAEA&search_query=Figma+table

Hi @tank666 I watched a few of these videos but still can’t figure out how to make it so the autolayout always maintains a fixed width for Column 1 and Column 2 fills the container, but both columns wrap text when the child text elements expand past their containers.

  1. Create a Text Layer;
  2. Add Auto Layout to it;
  3. Expand the resulting cell manually (drag the left or right border);
  4. Select the Text Layer, on the Property Panel, under “Resizing”, set the “Fill container” to horizontal;
  5. Choose Auto Layout and duplicate it;
  6. Place a copy of the cell next to the first cell;
  7. Select two cells and add Auto Layout to them;
  8. Select the two cells again, set the “Fill container” vertically on the Property Panel;
  9. Test it by typing some long text into the Text Layer.

This topic was automatically closed 30 days after the last reply. New replies are no longer allowed.